10 must-know tips for your floral design journey
From the tools you need to how to design, source and care for your flowers, you can’t go wrong with these ten tips
It’s easy to become overwhelmed when you begin designing floral arrangements. Do you need chicken wire, pin frogs, pruners, and floral tape right away? And where can you purchase single stems of amaranthus to follow an arrangement guide you found online? Wait, is amaranthus even in season? How much are you about to spend?
Don’t fret. Here are some rules to live by so that you can move beyond following arrangement guides and begin to understand the principles that will help you make your own creations.
1. Don’t buy every floral design tool… yet
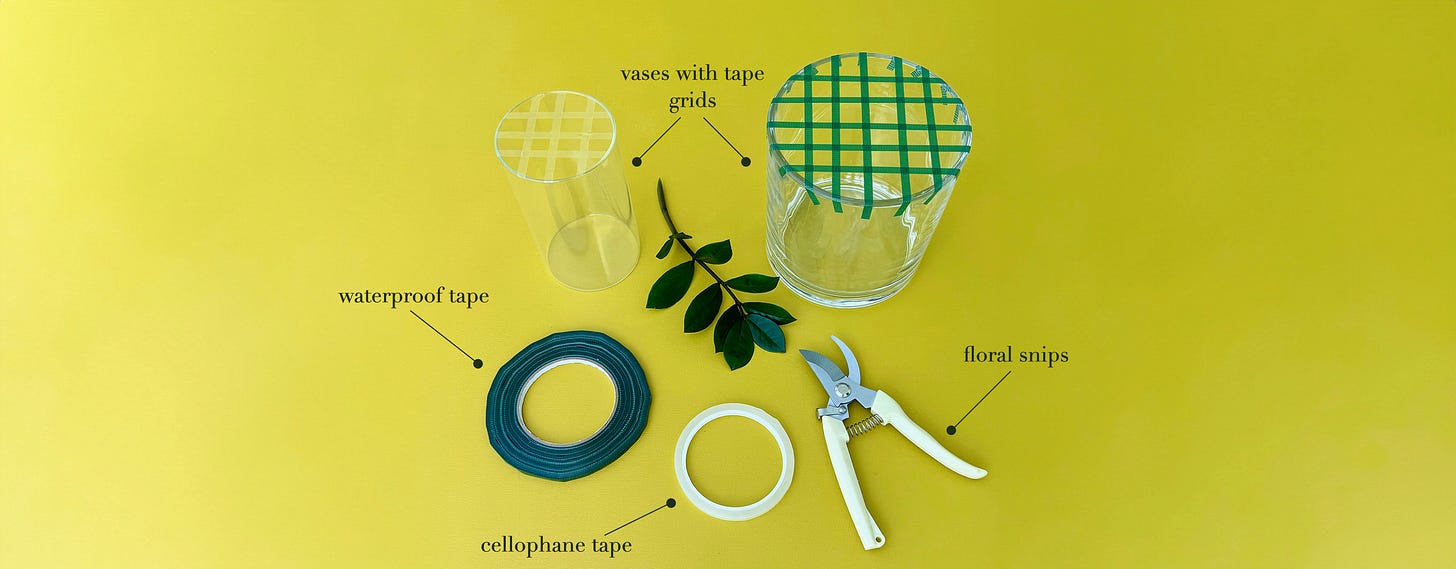
We’ve all done it – you get excited about a new hobby and rush to buy all of the equipment you could possibly need. Slow down. You only need floral snips and waterproof tape when you begin. You’ll use your snips to cut stems and remove leaves and thorns, while the waterproof tape allows you to create a grid on your vase to add structure to your arrangement. Avoid chicken wire, floral wire, pin frogs, and foam for now. Yes, they are helpful tools to make interesting shapes, but embracing the natural rigidity and curvature of the stem will force you to think creatively as your skills progress. To me, this is akin to trying a new vegetable in its raw form before exploring different cooking techniques with it. Over time we’ll incorporate more structural tools into our designs.
2. Leverage thrift stores for vases
Whether you’re looking for inexpensive glass vases or eye-catching statement pieces, Goodwill never disappoints. To this day, I have never spent more than $9 on a vase from Goodwill. Remember, too, that nearly anything can serve as a vase as long as it’s easy to clean and watertight – so get creative with it! I’ve converted empty whiskey bottles, cans, and even scientific beakers into vases.
Bonus tip: If you have a friend who is a ceramics hobbyist, consider collaborating to design custom vessels for your floral arrangements!
3. Consider Trader Joe’s and local farmer’s markets for flowers


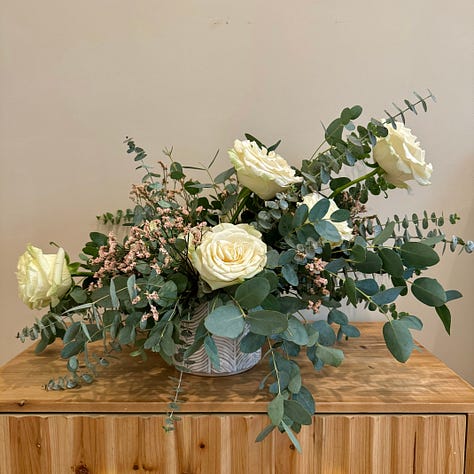
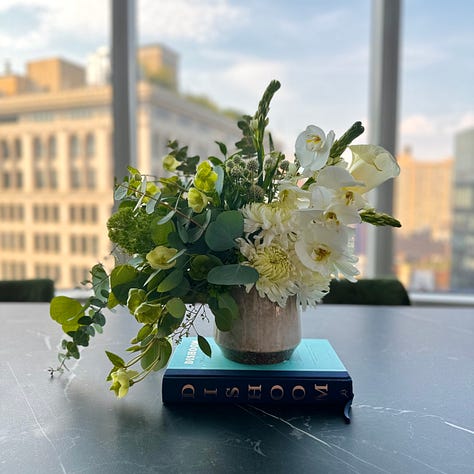
It’s no secret that Trader Joe’s has high-quality seasonal flowers for an affordable price. In fact, most of the DIY arrangements you see here are made with Trader Joe’s flowers. If you want a wider and more unique selection than what you’ll find at the grocery store, scope out your local farmer’s markets. Often, flower farms sell directly to consumers at farmer’s markets and their pricing tends to be very competitive. If you’re in New York, you can purchase stems directly from Luna Family Farm at the Union Square Greenmarket. For my friends in Berkeley, check out the Bluma Flower Farm.
A few tips:
Observe the stems and look out for signs of mold, discoloration, browning, or loose petals. You want to look for sturdy stems and blooms that haven’t fully opened yet.
Avoid lilies, tulips, sago palms, oleander, and autumn crocus if you have cats at home, as they are toxic to your furry friends. To be safe, keep any arrangement out of reach if you have children or pets.
Purchase flowers that are in season. This will keep your cost per stem low and ensure you have the healthiest and most vibrant flowers for your designs. I’ll be releasing monthly guides, so be sure to check here for what’s in season!
4. Remove the leaves and observe your stems’ natural curvature
Prep your flowers as soon as possible by taking off the leaves with your hands or floral snips. You can either remove all leaves from the bottom of the stem up to the sepals, or choose to leave some leaves near the petals for a fuller look. Either way, there shouldn’t be any leaves on the portion of the stem that will be placed in a few inches of water while you keep your flowers hydrated before you begin arranging.
Take this time to observe each stem too. If you hold up the stem, does it remain upright like a rose or does it begin to curve outward like a tulip? Pay attention to these cues to get a sense of how each flower can naturally contribute to the movement of your arrangement.
5. Don’t neglect the double cut
After you’ve removed the leaves, cut about an inch off the bottom of the stem at a 45-degree angle and immediately place the stem in water. Sharp angled cuts allow a greater surface area of the stem to come into contact with the water, thus increasing water uptake. This is your first cut – the preparation cut.
Once you’re prepared all of your flowers, you’ll make an additional angled cut at the desired length for your arrangement and immediately insert that stem into your vase. Double check that no leaves will come into contact with the water once you have an idea of how long your stem should be for the arrangement. This is your second cut – the arrangement cut. Remember that you want to minimize the amount of time that each stem is not in water to prolong the life of your flowers.
6. Change the water at least every two days
To keep your flowers happy for as long as possible, you should change the water every few days, if not daily. Considerations like the water depth, the amount of flower food, or whether to disinfect the water with a little bleach aren’t as important as giving your flowers fresh, cool water often – so don’t overthink it.
7. Keep your flowers away from heat and the sun
Bacteria thrives and multiplies in heat. Keep your arrangements away from direct sources of heat so that you don’t encourage bacteria to grow and clog the cut end of your stem (which will limit the amount of nutrients that can travel up your flowers’ stems).
Unlike your plant babies, cut flowers don’t need sunlight. In fact, this can burn the petals, dry out the flowers and lead to more bacterial growth. So, keep your designs in a cool, shady area for maximum longevity.
8. Seek inspiration everywhere
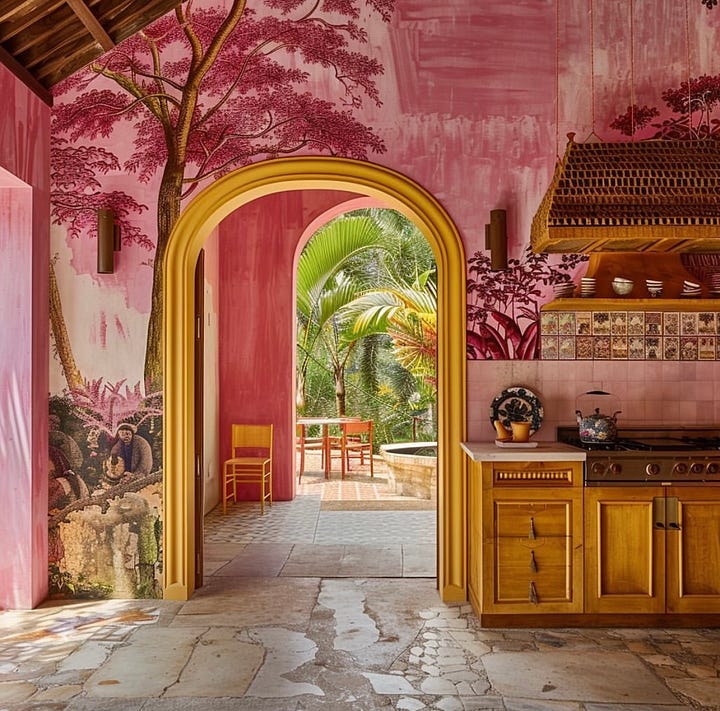
Take a look around you as you navigate life. You can find interesting color palettes and shapes in architecture, art, and the natural world. Are you more drawn to complimentary colors or shades that appear close to one another on the color wheel? Do you find more joy in energetic spikes or smooth curves? Take note of these things and let it inspire your next floral design.


9. Trust the process and stay flexible
As you try new arrangement styles, experiment with different vessels, and maybe even grow your own flowers, you’re bound to have moments of doubt and frustration. This is a sign that you’re pushing yourself and growing as a floral designer. Embrace it! Take 10-15 minutes to reflect on what went well and what went awry during the design process so that your next arrangement is even better. You can always leverage me and this community for support.
Feel free to use the comments section if you have any questions or want feedback on your arrangements. I encourage you to share pictures of your work too, it’s always worth celebrating!
10. When in doubt, fill it out
There will be many times when the vision for your arrangement isn’t coming to life in the way that you had in mind. This is especially true when you begin to experiment with ikebana or wispy and airy arrangement styles. If you find yourself getting overly frustrated with the creative process, focus on filling out your arrangement. A full arrangement tends to look beautiful no matter what!
You can do this in two ways: by switching to a smaller vessel or by adding some foliage. If you’re sticking with the same vessel, place additional stems in the center of the arrangement and in any gaping holes. Geranium (Geranium spp.), eucalyptus (Eucalyptus spp.), oregano (Origanum spp.), and goldenrod (Solidago spp.) are my personal go-to filler stems.
We’ll learn many more tricks throughout our floral design journey together, but if you keep these ten general tips in mind, you’re off to a phenomenal start. Happy arranging!
Stay curious. — Jas


